Understanding the ATMEGA16A-AU Microcontroller
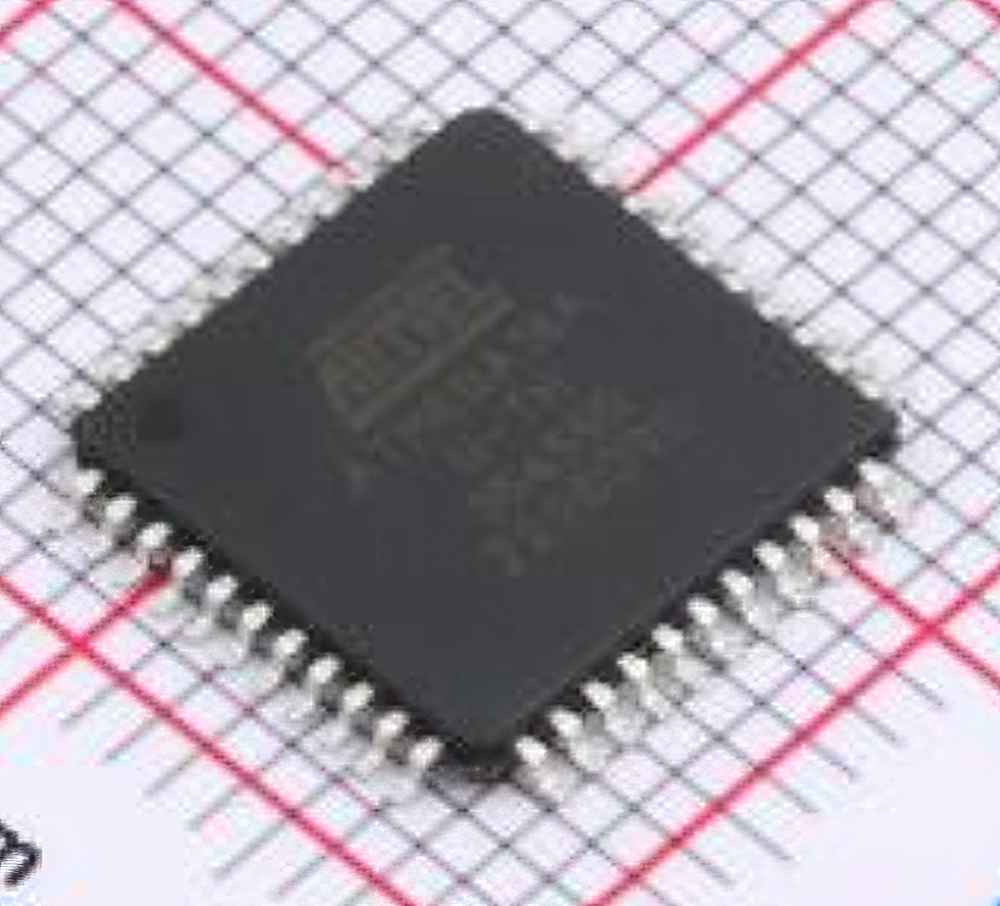
The ATMEGA16A-AU is an 8-bit microcontroller from Atmel (now a part of Microchip Technology). It belongs to the ATmega series, a family of microcontrollers known for their powerful performance, low power consumption, and rich set of features. Widely used in embedded systems, robotics, and various consumer electronics, the ATMEGA16A-AU offers a variety of communication interfaces, timers, and ADCs (Analog-to-Digital Converters), making it an excellent choice for many applications. However, like all electronics, the ATMEGA16A-AU can face occasional issues during development or operation. Troubleshooting these issues efficiently is key to maintaining the longevity and functionality of your system.
In this part, we will explore some of the most common problems users encounter with the ATMEGA16A-AU and the steps you can take to identify and fix these issues. Whether you're an experienced engineer or a hobbyist working on a DIY project, understanding these common problems will allow you to solve them with ease.
1. Power Supply Issues
Power supply problems are among the most common causes of microcontroller malfunctions. The ATMEGA16A-AU requires a stable supply of voltage, typically 5V, and fluctuations or inconsistencies in the power source can cause the microcontroller to reset or behave unpredictably. To troubleshoot power issues, consider the following:
Check the Voltage: Use a multimeter to measure the voltage at the power pins (VCC and GND) of the ATMEGA16A-AU. Ensure that the voltage is stable and within the specified range (4.5V to 5.5V). If the voltage is too high or too low, the microcontroller may not function correctly.
Current Draw: Excessive current draw can cause a voltage drop, leading to instability. Ensure that the power supply can provide sufficient current for the entire system, including the ATMEGA16A-AU and any peripherals connected to it.
Decoupling Capacitors : Adding decoupling capacitors near the power pins of the ATMEGA16A-AU can help stabilize the power supply and filter out noise. Capacitors with values of 100nF and 10µF are commonly used for this purpose.
2. Incorrect Clock Configuration
The ATMEGA16A-AU relies on an external clock source, typically a crystal oscillator or an external clock signal. If the clock configuration is incorrect, the microcontroller may fail to start, run too fast or too slow, or exhibit erratic behavior. To troubleshoot clock issues, follow these steps:
Check Clock Source: Verify that the correct clock source is connected to the ATMEGA16A-AU. The microcontroller supports both internal and external clock sources, so ensure that your configuration matches your hardware setup.
Fuses and Clock Prescalers: The ATMEGA16A-AU uses fuses to configure the clock source and prescaler settings. Incorrect fuse settings can lead to clock malfunctions. Use a programmer and the appropriate software tool (e.g., AVRDUDE or Atmel Studio) to read the fuse settings and ensure they match your intended configuration.
External Crystal: If you're using an external crystal, check the integrity of the crystal and ensure it is connected correctly to the microcontroller. A faulty or poorly chosen crystal can cause the microcontroller to fail to start or operate incorrectly.
3. Unresponsive Inputs/Outputs
One of the key features of the ATMEGA16A-AU is its ability to interface with external devices through I/O pins. However, users may experience issues where the I/O pins fail to respond as expected. Common causes include incorrect pin configuration, short circuits, or damaged pins. To troubleshoot these issues:
Pin Configuration: Ensure that the pins are properly configured as inputs or outputs in your code. Using the DDRx register to set the direction of the pins and the PORTx register to enable or disable pull-up resistors is essential.
Check for Shorts: A short circuit on an I/O pin can cause it to malfunction. Inspect the board for any solder bridges or shorts between traces. Also, ensure that connected devices (e.g., sensors or actuators) are functioning properly.
Pin Drive Capability: The ATMEGA16A-AU can source or sink a limited amount of current on its I/O pins. If you're driving high-current devices directly from the I/O pins, consider using external drivers or transistors to prevent overloading the microcontroller.
4. Reset Circuit Problems
The reset pin on the ATMEGA16A-AU is critical for ensuring the microcontroller starts properly. If the reset circuit is not functioning correctly, the microcontroller may fail to initialize or may repeatedly reset. Here are a few things to check:
Reset Pin Voltage: Use a multimeter or oscilloscope to check the voltage on the reset pin during startup. The voltage should initially go low (below 0.8V) and then return high (above 4.5V) once the microcontroller has initialized.
Reset Capacitor: The ATMEGA16A-AU requires a small capacitor (typically 100nF) between the reset pin and ground. If the capacitor is missing or faulty, the reset circuit may not work properly.
External Pull-up Resistor: The reset pin also requires an external pull-up resistor (typically 10kΩ) to ensure it stays high during normal operation. Ensure the pull-up resistor is in place and functioning correctly.
Advanced Troubleshooting Tips for the ATMEGA16A-AU
While the basic troubleshooting steps above should help resolve many issues, some problems may require more advanced debugging techniques. In this part, we will explore additional troubleshooting methods that can help pinpoint more complex issues with the ATMEGA16A-AU.
5. Debugging with USART
The Universal Synchronous and Asynchronous Receiver/Transmitter (USART) is a versatile communication interface on the ATMEGA16A-AU that can be used for debugging purposes. By sending debug information through the USART, you can gain valuable insights into the behavior of your code and hardware.
Check Baud Rate: Ensure that the baud rate of the USART matches the settings on your terminal software (e.g., PuTTY or Tera Term). If the baud rates are mismatched, the communication will not work correctly.
Check Wiring: Verify that the TX (transmit) and RX (receive) pins are connected properly. A loose connection or incorrect wiring could prevent communication.
Use Serial Debugging: Insert debug print statements in your code that send messages over the USART to monitor variables, states, or other conditions. This can be particularly helpful when your microcontroller appears to freeze or misbehave, as it allows you to track its progress.
6. Watchdog Timer Issues
The ATMEGA16A-AU includes a watchdog timer that can be used to reset the microcontroller in case of software failure. However, improper configuration or usage of the watchdog timer can lead to unexpected resets or failures. Here's how to troubleshoot watchdog timer problems:
Check Watchdog Timer Settings: Ensure that the watchdog timer is configured correctly in your code. If the watchdog is enabled but not periodically reset in the software, the microcontroller will reset itself. Review your code to ensure that you are resetting the watchdog timer as needed.
Disable the Watchdog for Debugging: During debugging, you might want to disable the watchdog timer to prevent it from resetting the microcontroller while you are troubleshooting. You can disable the watchdog timer by setting the appropriate bit in the watchdog timer control register.
7. Interfacing with External Devices
Interfacing the ATMEGA16A-AU with external devices, such as sensors, displays, or motors, can sometimes lead to problems if the external components are not properly connected or configured. Here are some advanced steps to troubleshoot interfacing issues:
Check Communication Protocols: If you're using communication protocols such as I2C, SPI, or UART, ensure that the communication settings (e.g., clock speed, data format) are consistent between the microcontroller and the external device. Mismatched settings can cause data corruption or communication failure.
Verify External Components: Inspect the external components connected to the microcontroller, including sensors and actuators. Use an oscilloscope to monitor communication signals and verify that the devices are responding as expected.
Use Bus Analyzers: For complex communication issues, using a bus analyzer can be extremely helpful. These tools allow you to monitor and analyze communication on protocols like I2C or SPI, helping you identify problems with timing or data integrity.
8. Use of Simulation Tools
Simulation tools can be incredibly useful for debugging ATMEGA16A-AU projects, especially when dealing with hardware-software interactions. Tools like Proteus or Tinkercad allow you to simulate your circuit and code before deploying it on physical hardware. This can help identify potential problems early in the development process.
Simulate the Circuit: Before assembling your circuit, simulate it in software to check for any fundamental issues, such as incorrect wiring or incompatible components.
Test Code in Simulation: Many simulation tools also allow you to test your code in a virtual environment. This can help you catch software bugs or logic errors before running the code on real hardware.
Conclusion
Troubleshooting the ATMEGA16A-AU microcontroller involves understanding its fundamental operation and common issues. By following the steps outlined in this guide, you should be able to diagnose and resolve a wide range of problems, from power supply issues to software bugs. Remember, the key to effective troubleshooting is a methodical approach, testing one aspect of the system at a time. With practice and experience, you’ll become proficient at identifying problems and ensuring your ATMEGA16A-AU runs smoothly in your electronic projects.
( Partnering with an electronic component supplier ) sets your team up for success, ensuring that the design, production and procurement processes are streamlined and error-free. ( Contact us ) for free today
If you're looking for models of commonly used electronic components or more information about ATMEGA16A-AU datasheets, compile all your procurement and CAD information in one place.
( Partnering with an electronic component supplier) sets your team up for success, ensuring that the design, production and procurement processes are streamlined and error-free. (Contact us) for free today.

