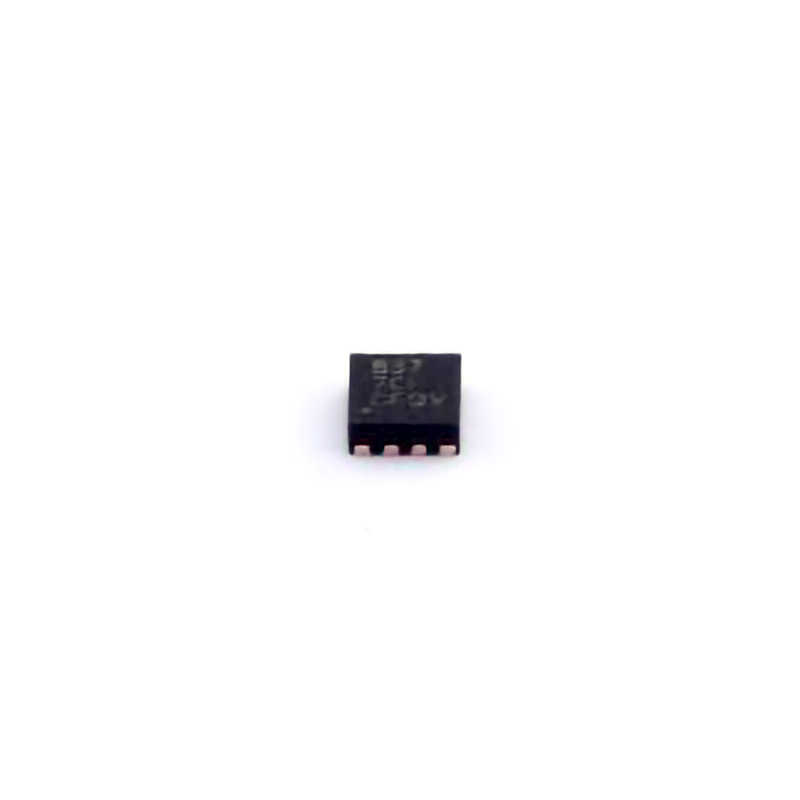
Common Issues with DRV8837DSGR and How to Troubleshoot Them
The DRV8837DSGR is a widely used, low- Power , H-bridge motor driver IC that powers small DC motors and stepper motors with ease. However, like any electronic component, it may encounter certain issues during use, often leading to motor malfunction or erratic behavior. Below, we outline some common problems users face and how to troubleshoot them effectively.
1. Motor Not Running
One of the most frequent issues with the DRV8837DSGR is when the connected motor does not run at all, despite the power being applied. There are a few steps you can take to resolve this problem:
a. Power Supply Issues
Ensure that the power supply voltage is within the specified range for the motor driver and motor. The DRV8837 typically requires a supply voltage between 2V to 10.8V. If the voltage is too low, the motor will not run.
b. Incorrect Wiring
Verify the connections between the motor, power supply, and the DRV8837. The IN1 and IN2 pins should receive appropriate logic signals for the motor to function. If these pins are floating or incorrectly connected, the motor will not be activated.
c. Motor Load and Resistance
Check the motor’s load and resistance. If the motor is overloaded or there is too much resistance, it may prevent the motor from running. Test the motor independently to ensure it is functioning correctly.
d. Driver Pin Functionality
Use a multimeter to check the voltage levels on the control pins (IN1, IN2) when the system is powered on. If the voltages are not as expected, the IC might be damaged, or there may be a wiring issue.
2. Motor Runs in Reverse or Unexpected Direction
Sometimes, the motor may rotate in the opposite direction of what was intended. Here’s how to troubleshoot this problem:
a. Control Pin Signals
Check the input control signals to the IN1 and IN2 pins. The DRV8837 uses these pins to determine the motor’s direction. A HIGH signal on IN1 and a LOW signal on IN2 will drive the motor in one direction, while a LOW signal on IN1 and a HIGH signal on IN2 will drive it in the opposite direction. Ensure that the correct logic levels are applied to these pins.
b. Incorrect Logic Level
If you are using a microcontroller to drive the motor, double-check the logic levels being output on the control pins. If the signals are not correct or are swapped, it will cause the motor to run in reverse. Adjust the software code or rewire the control signals accordingly.
c. Faulty H-Bridge Configuration
In rare cases, a damaged H-bridge inside the DRV8837 IC may cause incorrect direction control. If the motor consistently runs in reverse regardless of the input signals, the IC might need replacement.
3. Motor is Stuttering or Jerking
Stuttering or jerking can be caused by several factors, ranging from insufficient power supply to mechanical issues with the motor itself. Let’s walk through the steps to diagnose this:
a. Inadequate Power Supply
A common cause of motor stuttering is an unstable or insufficient power supply. The DRV8837 requires a stable DC supply voltage. Ensure that the power source is capable of providing sufficient current for both the motor and the driver. Check for voltage drops during operation, as these can cause motor jerking.
b. Motor Load Fluctuations
If the load on the motor fluctuates, the motor may stutter as it struggles to maintain speed. This can be caused by a mechanical obstruction or excessive load on the motor. Inspect the motor and its shaft for any blockages or resistance.
c. Low PWM Frequency
If you are using Pulse Width Modulation (PWM) to control the speed of the motor, ensure that the PWM frequency is high enough. A low PWM frequency may result in the motor stuttering or jerking. The DRV8837 can operate with a wide range of PWM frequencies, so ensure your controller is set to an appropriate value for smooth motor operation.
4. Motor Driver Gets Overheated
Another common issue with the DRV8837DSGR is overheating, which can lead to thermal shutdown and erratic motor behavior. Overheating can be caused by several factors:
a. Excessive Current Draw
The DRV8837 is rated for a maximum output current of 1.5A per channel. If your motor requires more current than this, the IC will overheat. Use a current-limiting circuit or select a motor driver with a higher current rating.
b. Poor Ventilation
Ensure that the motor driver and the surrounding area have adequate ventilation. Overheating can occur if the motor driver is enclosed in a small space without proper airflow. Consider using heat sinks or improving airflow to help dissipate heat.
c. Short Circuit or Faulty Wiring
A short circuit in the motor or wiring can cause the driver to overheat. Check all wiring connections to ensure there are no short circuits, and inspect the motor for signs of internal shorts or damage.
5. Driver Is Not Responding to Control Signals
When the DRV8837 does not respond to control signals, the issue could be due to various factors:
a. Power Issues
Confirm that the DRV8837 is receiving adequate power on the VCC pin. If the IC is not properly powered, it will not respond to control signals.
b. Defective IC
If the IC is not responding to any control signals (IN1, IN2), the IC itself might be damaged. In such cases, replacing the IC is often the best solution.
Advanced Troubleshooting and Long-Term Solutions for DRV8837DSGR Issues
In addition to basic troubleshooting, engineers and hobbyists may encounter more complex issues with the DRV8837DSGR. Below, we explore advanced troubleshooting techniques and long-term solutions to enhance the reliability of your motor control system.
6. Motor Driver Fails to Switch States Properly
Sometimes the motor driver might not transition between states as expected, either not switching from forward to reverse or not responding to PWM adjustments. This issue can be caused by several factors:
a. Signal Integrity
Ensure that the signals going into the IN1 and IN2 pins are clean and free from noise or glitches. Noise on these signals can cause erratic switching behavior. Use a low-pass filter to smooth out any noise if necessary.
b. Faulty capacitor s
Check the decoupling Capacitors on the power supply pins of the DRV8837. Capacitors help filter out noise and ensure stable voltage levels. If the capacitors are faulty or of incorrect value, they can cause issues with switching behavior.
c. Faulty Enable Pin
The enable pin (nSLEEP) controls the power to the motor driver. If this pin is not toggling correctly or is permanently held in a disabled state, the motor will not run. Check the signal driving this pin, and ensure it is toggling between HIGH and LOW as needed.
7. Motor Driver Isn’t Efficient or Consuming Too Much Power
If the system’s overall power efficiency is lower than expected, or the motor driver is consuming too much power, here are a few things to consider:
a. Overclocking the PWM Frequency
Running the motor driver at a very high PWM frequency might lead to excessive switching losses, reducing overall efficiency. Choose a suitable PWM frequency based on the motor’s characteristics and your system’s requirements.
b. Lowering Motor Load
If the motor is under excessive load, it will consume more current and result in lower efficiency. Use a motor with a more suitable torque rating for your application, or reduce the load on the motor if possible.
8. Preventing Motor Driver Failures in the Long Run
In addition to resolving immediate issues, consider implementing strategies that enhance the longevity and reliability of your DRV8837 motor control system:
a. Use a Heat Sink or Cooling System
For high-power applications, adding a heat sink to the DRV8837 can help manage heat dissipation, reducing the risk of thermal shutdown and extending the life of the IC.
b. Overcurrent Protection
Include a current sensing mechanism to detect excessive current draw from the motor. If an overcurrent situation arises, it is essential to shut down the motor or reduce the current to prevent thermal damage.
c. Robust Circuit Design
Ensure that your design includes features like transient voltage suppression diodes, proper grounding, and proper PCB layout to minimize noise and interference, thereby enhancing the overall performance and reliability of your system.
By following these troubleshooting steps and implementing the suggested solutions, you can resolve common DRV8837DSGR issues and prevent future failures, ensuring that your motor control system runs smoothly and efficiently for longer periods. Always remember to carefully check wiring, control signals, and power supplies, and don’t hesitate to replace damaged components when necessary.
If you are looking for more information on commonly used Electronic Components Models or about Electronic Components Product Catalog datasheets, compile all purchasing and CAD information into one place.


