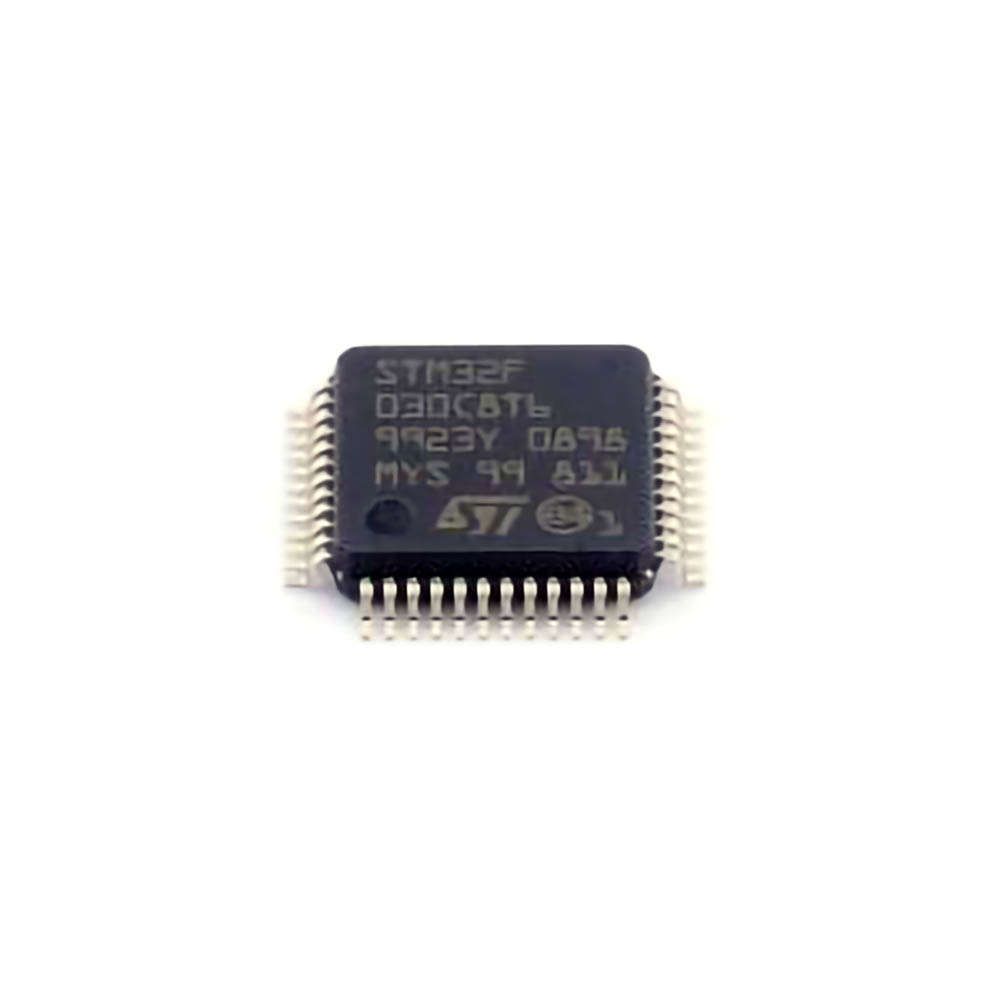
The STM32F030C8T6 TR microcontroller from STMicroelectronics is widely used in various embedded systems and electronic projects. While it offers remarkable performance, users may occasionally encounter issues. This article outlines some common troubleshooting steps and solutions for the STM32F030C8T6TR to help developers streamline their workflows and resolve problems effectively.
STM32F030C8T6TR, troubleshooting, solutions, microcontroller issues, embedded systems, STM32, debugging, firmware, hardware setup, peripheral issues, STM32 development.
Common Troubleshooting Issues in STM32F030C8T6TR
The STM32F030C8T6TR is an affordable and efficient ARM Cortex-M0 microcontroller commonly used in embedded applications. However, even the best-designed hardware can encounter problems during development. Whether you're working with STM32 for the first time or have years of experience, you may come across situations where things just don’t work as expected.
Below are some of the most common issues developers face when working with STM32F030C8T6TR, along with suggested troubleshooting methods.
1. Power Supply Issues
Power-related problems are among the most frequent sources of trouble. The STM32F030C8T6TR operates with a voltage range of 2.4V to 3.6V. If the supply voltage is outside this range or unstable, the microcontroller may not function correctly.
Solution:
Double-check your power supply, ensuring it delivers a stable 3.3V. A voltage regulator can help ensure the microcontroller receives proper voltage.
Use a multimeter to measure the voltage at the microcontroller’s power pins and confirm that it falls within the specified range.
2. Missing or Inconsistent Clock Signal
The STM32F030C8T6TR relies on external or internal clock sources. If the clock is not set up correctly or fails to generate a stable signal, the system may fail to run as expected.
Solution:
Ensure the microcontroller’s clock source is correctly configured. The STM32F030C8T6TR can use an external crystal oscillator or an internal RC oscillator. Verify the configuration in the clock setup of your firmware.
If using an external crystal, make sure it is correctly connected, and its frequency matches the microcontroller’s specifications.
You can check the output of the clock signal using an oscilloscope to verify stability.
3. Incorrect Pin Configuration
The STM32F030C8T6TR has a variety of pins that can be used for different functions such as GPIO, UART, SPI, I2C, and more. Incorrect configuration of these pins can result in peripherals not working or even damage to the microcontroller if they are improperly driven.
Solution:
Double-check the pin configuration in your firmware, especially if you’re using alternate functions (e.g., UART on specific pins). Ensure the correct mode (input, output, alternate function, etc.) is set for each pin.
Refer to the STM32F030C8T6TR datasheet or reference manual to ensure you’re using the correct pins for the desired functions.
4. Boot Mode Selection Issues
When the STM32F030C8T6TR is powered up, it checks its BOOT0 and BOOT1 pins to determine the boot mode. Incorrect boot mode configuration may cause the microcontroller to enter an unintended state, such as booting from internal flash or an undefined state.
Solution:
Make sure the BOOT0 and BOOT1 pins are correctly configured according to your boot strategy. For example, if you’re booting from the internal flash Memory , BOOT0 should be tied to ground.
If you’re using an external memory, check the connections and configurations for BOOT0 and BOOT1 to ensure the correct boot mode is selected.
5. Debugging Issues with JTAG/SWD
Programming and debugging the STM32F030C8T6TR often involve using a debugger like the ST-Link via JTAG or SWD (Serial Wire Debug). Issues with debugging can stem from hardware or software misconfigurations.
Solution:
First, ensure your JTAG or SWD connection is correctly established. Double-check the wiring and confirm that the debugger is properly connected to the target.
In your development environment (e.g., STM32CubeIDE or Keil uVision), verify that the debugger settings are correctly configured.
Make sure the firmware is not configured to disable the debug interface . Some STM32 microcontrollers allow disabling the debug interface for security purposes.
Advanced Troubleshooting and Solutions for STM32F030C8T6TR
Once you’ve addressed the basic troubleshooting issues outlined in Part 1, you may encounter more complex problems, particularly when dealing with peripherals, memory management, or Communication protocols. In this section, we’ll dive deeper into these more advanced troubleshooting areas.
1. Communication Protocol Failures (UART, SPI, I2C)
Communication failures between the STM32F030C8T6TR and external devices can occur due to incorrect peripheral initialization, misconfiguration of pins, or timing mismatches.
UART Problems
If you experience issues with UART communication (e.g., data corruption, no data transmission), the problem might be related to baud rate mismatches, incorrect pin assignments, or framing errors.
Solution:
Verify the baud rate setting in both the STM32 and the connected device. They should match exactly.
Check that the UART pins (TX/RX) are connected to the right pins on the STM32F030C8T6TR and that they are correctly configured as alternate functions.
If the problem persists, use a logic analyzer to check the signal integrity and confirm that data is being transmitted as expected.
I2C/SPI Issues
I2C or SPI peripherals may face issues like communication stalls, incorrect slave address selection, or mismatched clock speeds.
Solution:
For I2C, ensure that pull-up resistors are present on the SDA and SCL lines, as I2C requires these for proper signaling.
Check the clock frequency and configuration of both the STM32F030C8T6TR and any I2C/SPI peripherals. Mismatched speeds can result in communication errors.
Use a logic analyzer or oscilloscope to monitor the data lines and ensure the communication is proceeding correctly.
2. Memory Access Problems
Memory access issues can arise from incorrect configuration of the Flash memory, RAM, or peripherals. These types of errors often lead to crashes, corrupted data, or unexpected behavior in your application.
Solution:
Ensure that the stack and heap are correctly allocated in memory. You may encounter problems if your program’s stack size is too small or if there’s a heap overflow.
Check the memory layout in your linker script. Ensure that Flash and RAM sections are correctly allocated and that no memory regions overlap inappropriately.
Pay attention to memory fragmentation, particularly when using dynamic memory allocation, as this can lead to unpredictable behavior over time.
3. Firmware and Software Issues
A significant amount of troubleshooting comes from software errors, including logic bugs, improper peripheral initialization, or issues in handling interrupts and exceptions.
Solution:
Begin by simplifying your firmware to the bare minimum necessary for debugging. Isolate the problem by disabling unrelated peripherals and functions to narrow down the cause.
Use STM32CubeMX and STM32CubeIDE’s built-in debugging tools, such as breakpoints, variable watches, and step-through debugging, to identify where the software is failing.
Ensure you have a good understanding of the interrupt and exception handling mechanisms in STM32F030C8T6TR, as issues here can often go unnoticed. Check the vector table and interrupt priorities if interrupts are not behaving as expected.
4. External Peripheral Interference
Sometimes external devices, such as sensors or other microcontrollers, may cause interference with the STM32F030C8T6TR. Issues like voltage spikes, incorrect signal levels, or improper grounding can lead to erratic behavior.
Solution:
Use proper grounding techniques, ensuring all devices share a common ground to avoid floating voltage levels.
Pay attention to the power supply stability, especially if external peripherals draw significant current. Voltage dips or noise can cause the microcontroller to reset or behave unpredictably.
Add decoupling capacitor s near power pins and communication lines to filter out noise.
5. Firmware Corruption or "Bricking" the Device
In rare cases, you may encounter situations where the STM32F030C8T6TR becomes unresponsive or "bricked" due to firmware corruption, particularly after failed programming attempts.
Solution:
In such cases, attempt to enter the bootloader mode by setting the BOOT0 pin high (if configured) and connecting via a UART or SWD interface for reprogramming.
If the device is still not responding, check the fuse settings and other configuration bits that may be locking the device or preventing proper access to the flash memory.
In conclusion, while working with the STM32F030C8T6TR can sometimes present challenges, many of these issues are solvable with careful attention to detail. By following the troubleshooting steps outlined in this article, you can identify and resolve problems efficiently, ensuring smooth development and optimal performance in your embedded projects.
If you're looking for models of commonly used electronic components or more information about STM32F030C8T6TR datasheets, compile all your procurement and CAD information in one place.
( Partnering with an electronic component supplier) sets your team up for success, ensuring that the design, production and procurement processes are streamlined and error-free. (Contact us) for free today.


